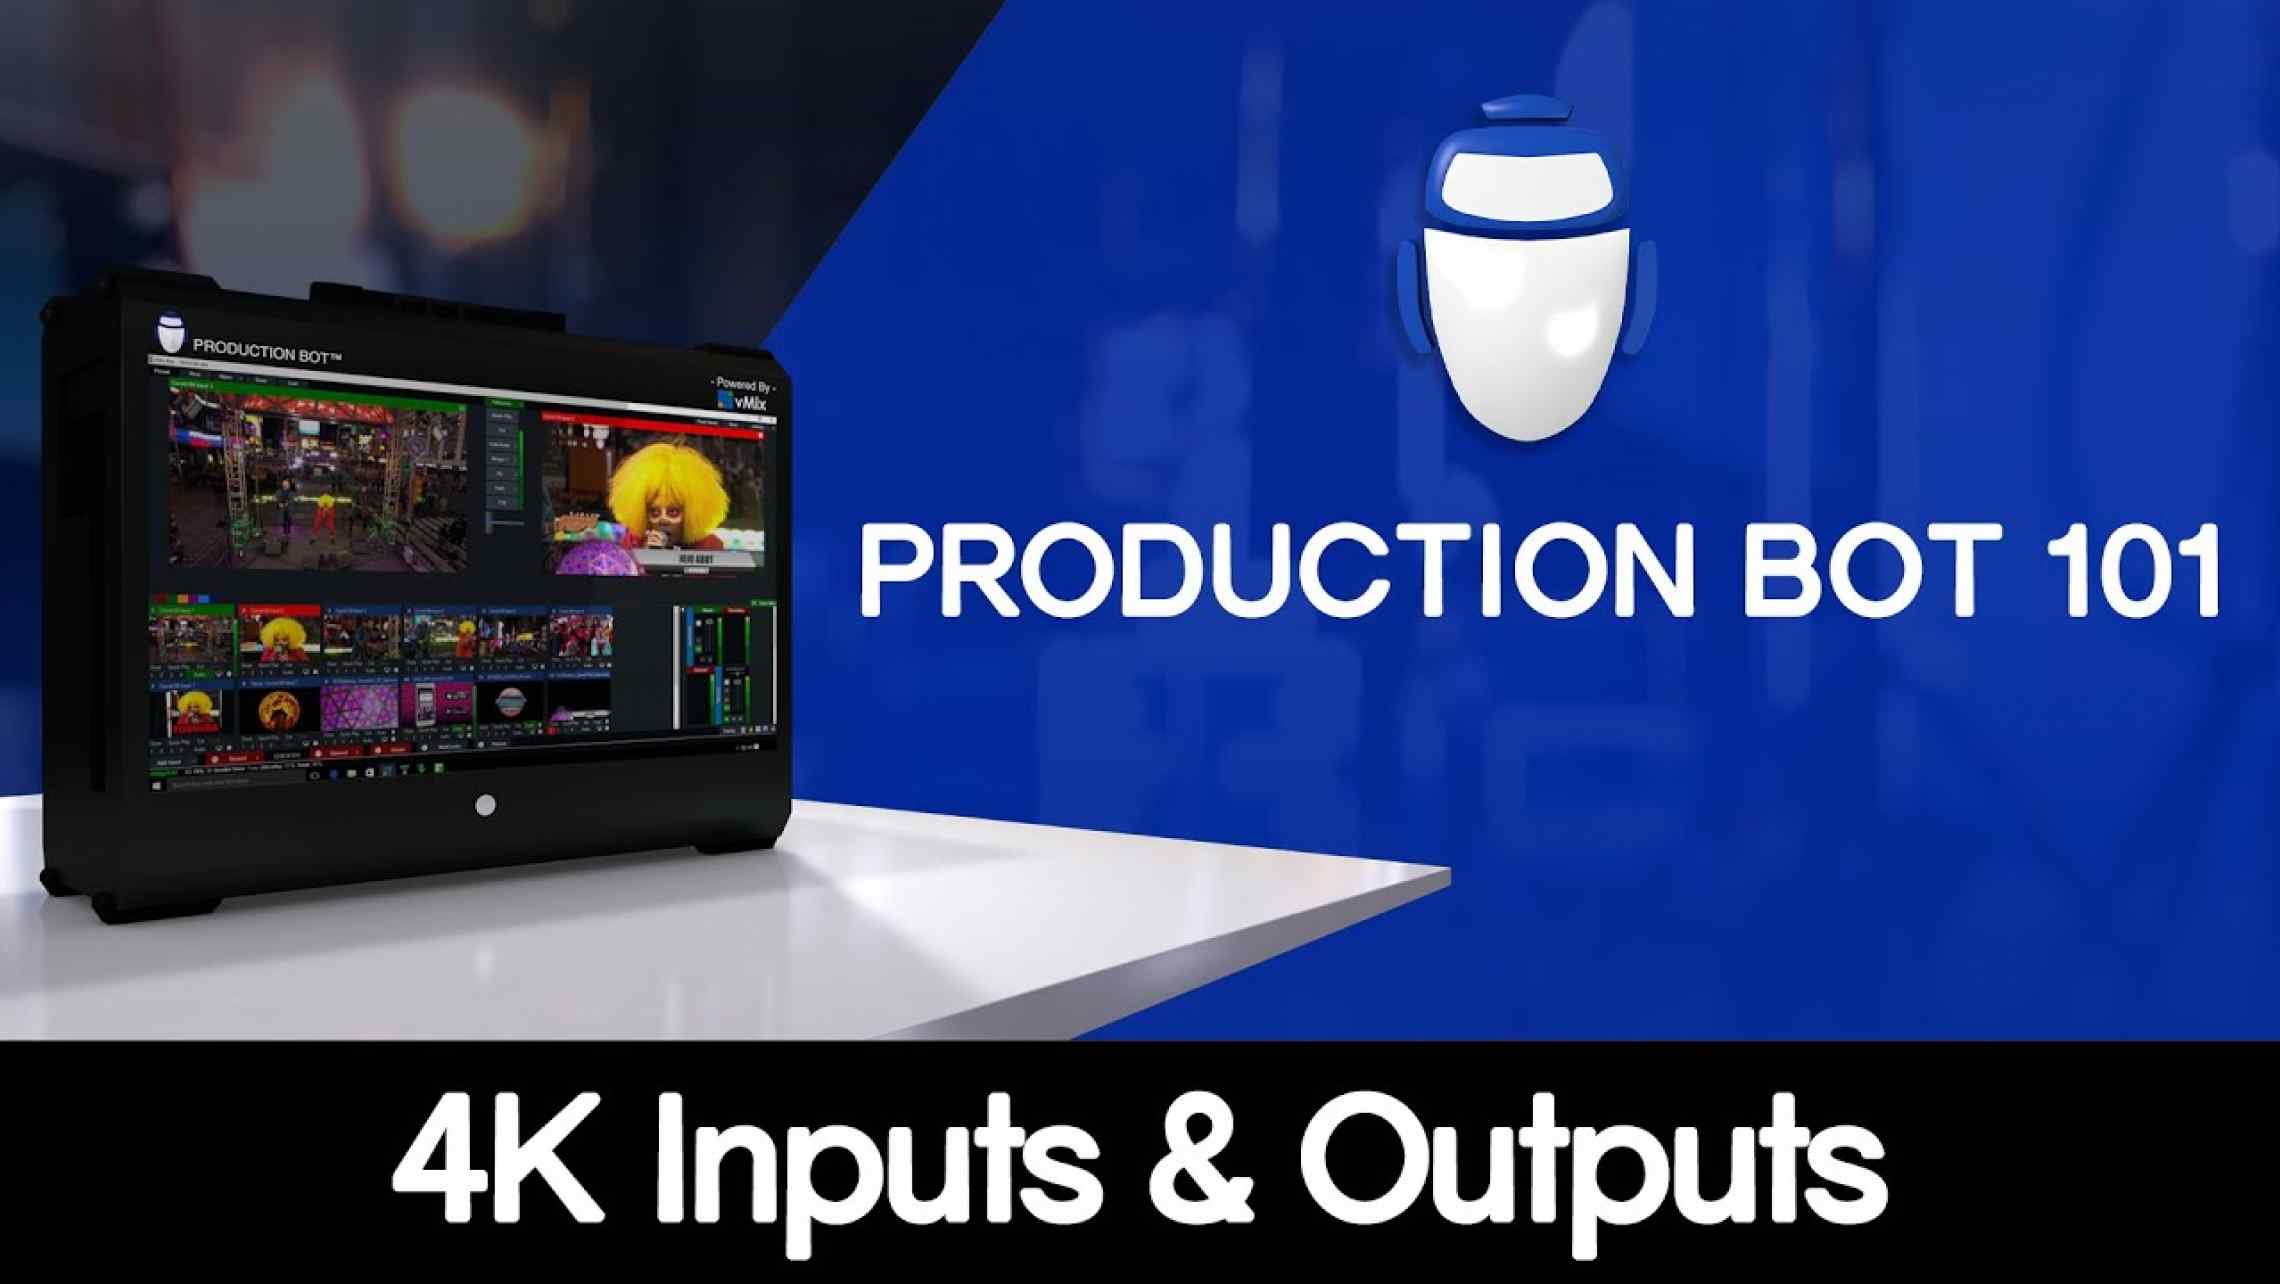
Production Bot 101: 4K Inputs and Outputs

Adding a 4K Input
1. In your search bar, look for "AJA Control Panel."

2. Under "Format" select "4K 29.97."
3. Navigate to "Input Select" and make sure the "Source" is set at "UHD/4K 4-wire." This means it will be a Quad Link input.
4. Restart the computer.
5. Open a new file on vMix.
6. Go to "Settings" and in the drop down for "Output Size" select "3840x2160."
7. Hit "Ok" to restart vMix.
8. Open your project again.
9. In vMix, navigate to "Add Input" and click on "Camera." Select "Corvid 88 Input 1" and change your "Resolution" to "3840x2160." On your Production Bot you should connect your Quad Link on inputs 1-4. Once you have selected Input 1, all four inputs will show up as one 4K source in vMix.
10. If you do not change your resolution to 4K, only one of the Quad Link inputs will show up, meaning you will only see one corner of your 4K feed. Make sure your resolution is set correctly.


Adding a 4K Output
1. Select the gear icon next to "External."
2. Navigate to "External Output Settings."
3. On "Device" select "Corvid 88 Output 5" if you are using the last 4 I/Os on the Production Bot as your outputs (This could be Corvid 88 Output 1 if you aren't using it for something else).
4. Select "3840x2160" on your "Output Size." Also, check that "External Renderer" is checked on.
5. Hit "Ok."